Showing posts with label video. Show all posts

Saturday, December 19, 2015

Casual Holiday Party Wear

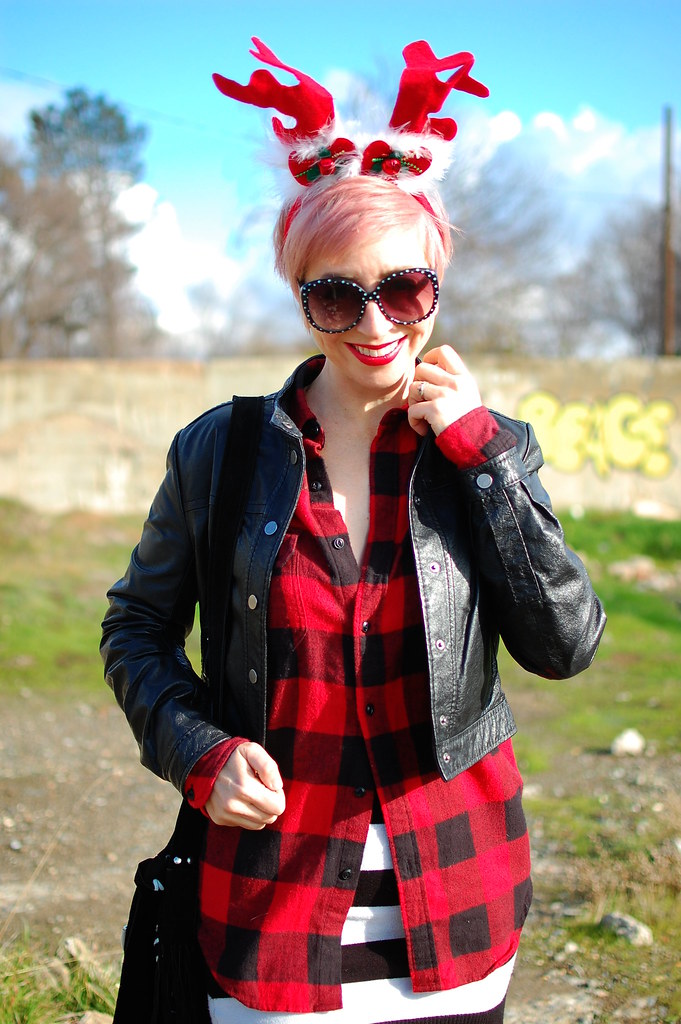
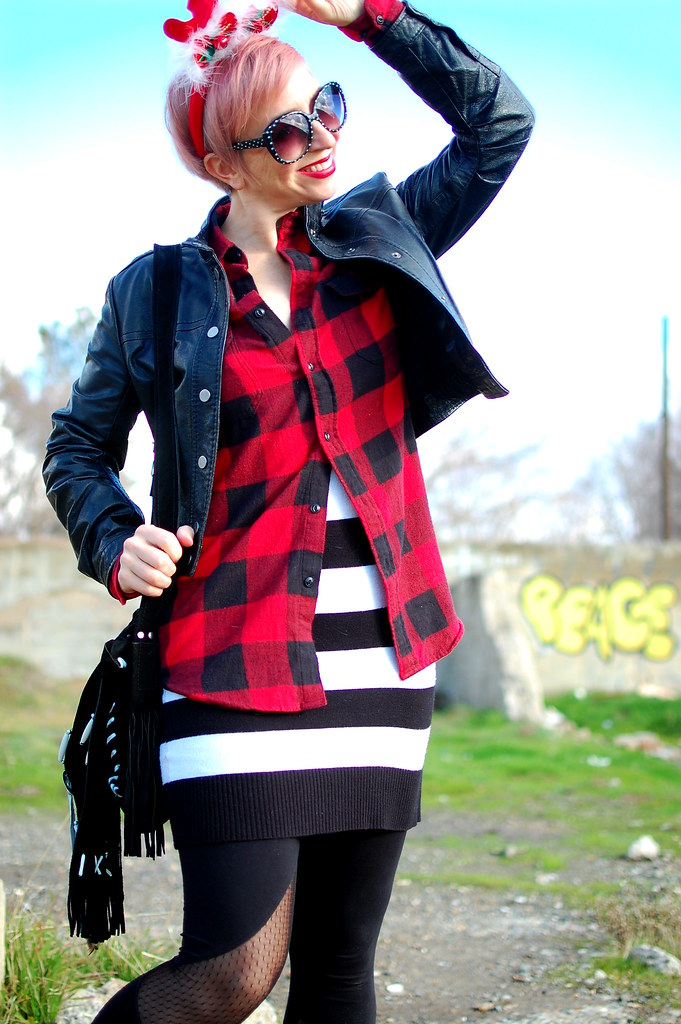
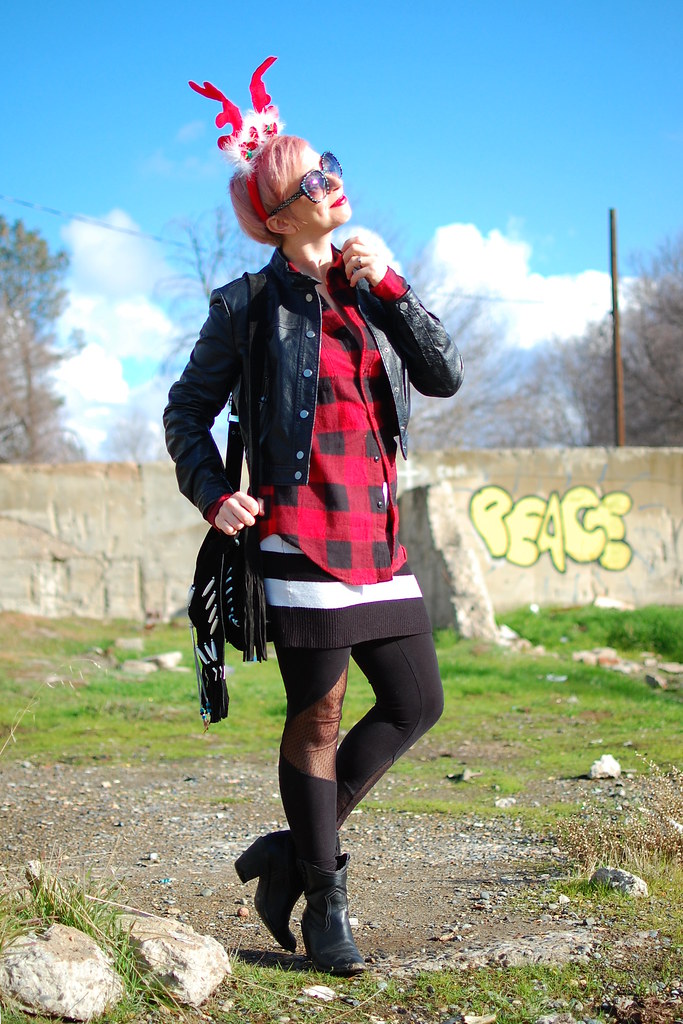
I don’t have any fancy holiday plans, this year. I attended my Toastmasters annual party in sweats (albeit STAR WARS sweats). For the Western Agility Group party, I knew to wear sturdy, comfortable clothing. No dogs are invited, but the Big Box Game requires comfy shoes and freedom of movement.


Jacket, BCBG Max Azria (consignment). Shirt, Salt Valley (consignment). Tunic, Urban Behavior (swap). Leggings, Allen B. Boots, Style & Co (thrifted)


The Big Box is actually a dozen wrapped and sealed boxes nested inside one another. Prizes are slipped between each layer and the grand prize, a gift certificate to WAG, is hidden inside the final box. To play, the participants line up and file past the Big Box, rolling a pair of dice on each pass. A seven or twelve gives one a chance at the Big Box! The lucky roller dons oven mitts, a Santa hat, and scarf and attempts to open as many layers as possible (and claim the prizes revealed) before the next participant rolls a seven or twelve. I got three chances at the Big Box and documented two of them, but the video doesn’t even begin to capture the frenzy of the game. You can see, though, why I dressed sensibly for the event.

WAG big box game

2nd round with the WAG big box

Saturday, December 10, 2011

Sand and Ice

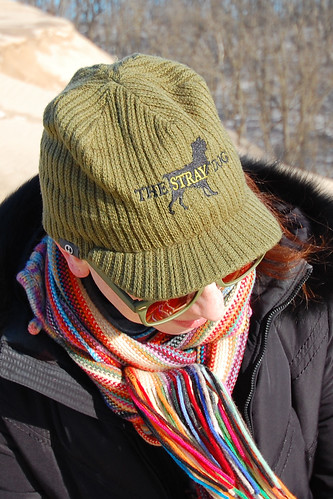
It turns out that snow boots are also good in sand. Not good in sand: camera lenses. I forgot to zip the backpack and dumped two of them into the dunes. I’ll be doing some lens maintenance tonight. But my toes are sand-free!


Sweater, Takeout. Turtleneck and bag, Mossimo. Scarf, borrowed. Hat, Stray Dog. Pants, Rocks and Indigo. Boots, Sorel.


Sorels beat snow and sand, but ice is still slippery when you’re wearing them. Guess I need cleats to be truly winterized.


Although I did not fall down, Beefy made me remove the camera backpack before doing my “ice dancing.” Of course, I managed to still drop the lenses into the sand not twenty minutes later.

Photos by Beefy Muchacho

Sunday, February 27, 2011

Favorite Two Scarf Twists

It's the end of February and spring is in sight, but we still have a few more months of scarf weather to enjoy. I have two scarf twists/ties that I employ during the cool months, the Hacking Twist and the Chi Chi Wrap.


I learned the Hacking Twist from Amy of Cincy Chic (who got it from her dentist!) and I invented the Chi Chi Wrap. Enjoy!

P.S. Sal calls the Hacking Twist the Pretzel Knot and uses a slightly different technique. Check it out.

Saturday, August 07, 2010

How to Make a Bump without a Bumpit

As I’ve grown my hair out from a super short cut, and dealt with the damage of extreme color switches, the half-back bump has been my go-to hairstyle. A few people have asked if I get that bouffant look with a bumpit. Nope. I do it like this:


This is the technique I’ve used to get the hairstyles you see here:


I pinned up the back pieces in the last photo.

Tuesday, January 19, 2010

Tour Kasmira's Closet

I’ve had a few questions, and I’ve made a few answers, regarding how I store and organize my clothing and accessories. However, photographs don’t give one a complete sense of space and I’ve made updates since the last time I posted photos of my closet. Instead of showing you more still photos, I’d like to take you on a virtual, video tour of my closet (aka my guest* room).


I only keep my workwear in this room. The casual clothing is upstairs, in my actual bedroom closet, and my coats and casual shoes are in a closet by the front door.

Thanks to the Cheap Chick for pointing me towards Windows Movie Maker to edit my video. It turns out that I had it on my computer all along!

*When actual guests stay over, I have to shift things around to make room for their clothing. Thankfully, I rarely have overnight visitors.

Wednesday, March 11, 2009

How to Make a Messy Bun

I’ve spent years twisting my hair up into tight chignons. A small, hard knot of hair is ideal for ballet and combat, but, for less strenuous activities, I prefer a looser, softer look. I also like my buns BIG. Unless you have extremely thick or long hair, the traditional, twisted bun doesn’t create a lot of volume. After studying others’ poufy, messy buns, I’ve come up with the following technique.

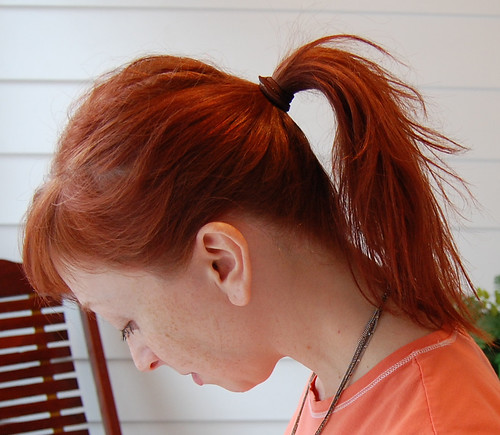
1. Start with a ponytail. I prefer an elastic that matches my hair color.
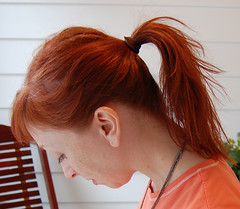
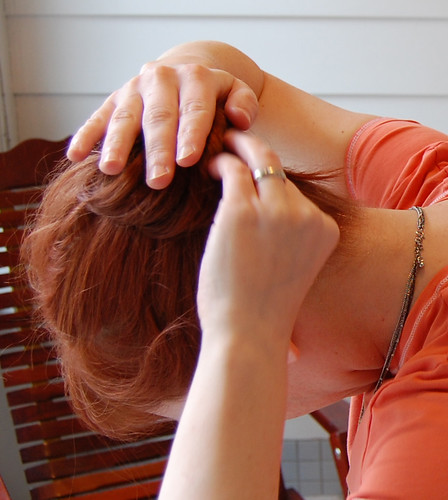
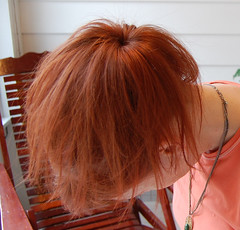
2. Tip your head forward until your ponytail is perpendicular to the ground. Fan the ponytail so that an equal amount of hair is spread in every direction. (I call this step the “hair fountain.”)
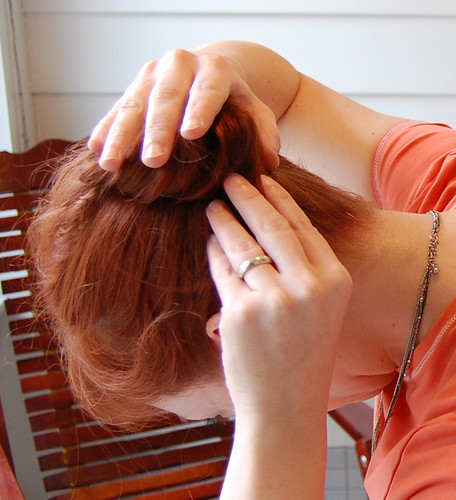
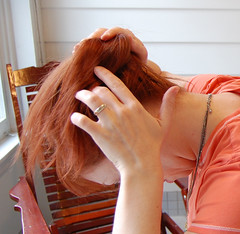
3. Cup the center of the “fountain” with one hand, and use the other hand to swirl the ends around the center. You can switch hands if necessary. I swirl clock-wise.
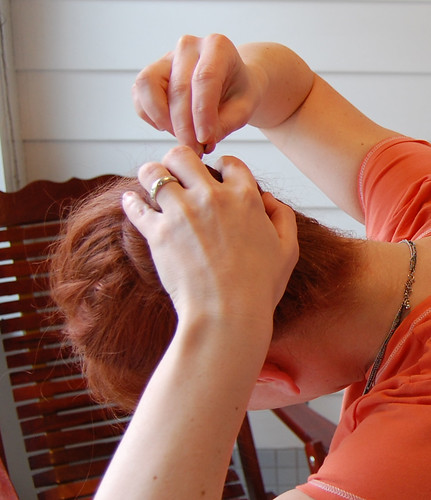
4. Continue swirling until the ends have tucked under the roll. The bun should be loose and barely contained within your hand.

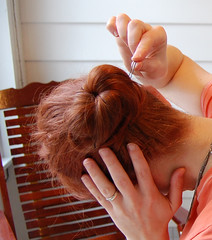
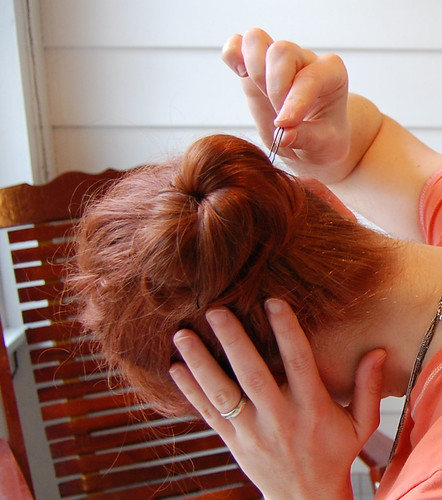
5. Pin the edges to secure. (More on the pinning technique below.)
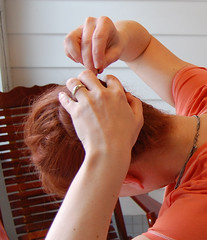
6. If desired, tease the roll for more volume.

The 90-second, bare-bones, no-makeup, no-narration video version:


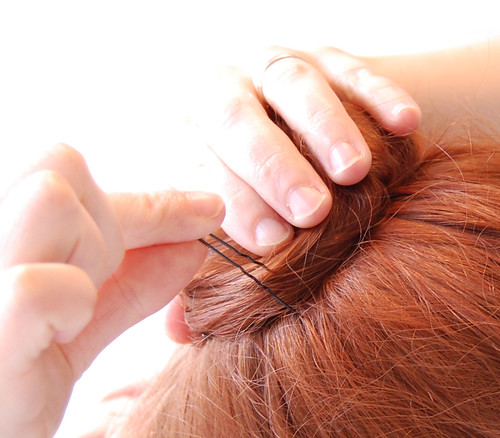
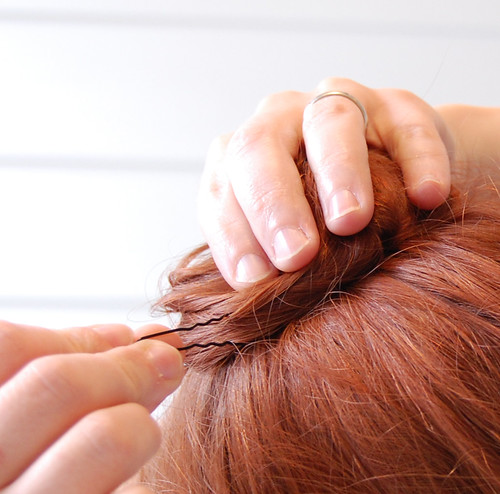
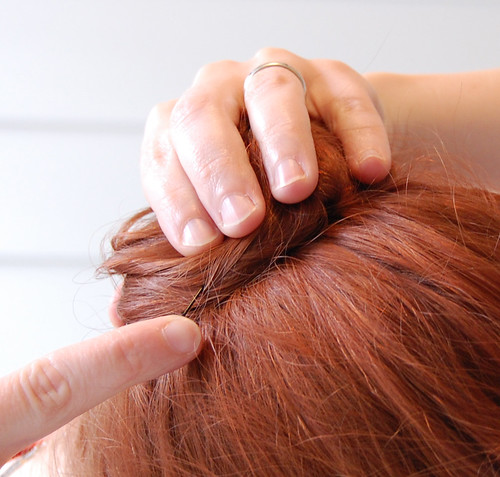
Pinning Technique:

The pinning technique is key to maintaining your roll.

1. Position the pin perpendicular to your head, catching the roll with one half of the pin. The pin should penetrate the roll and the hair beneath, just touching your scalp.
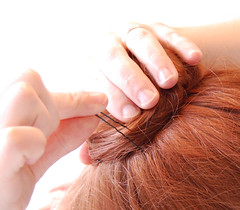
2. In place, rotate the pin so that the ends are pointing towards the roll. This twisting motion prevents the pin from slipping out. The tip of the pin (on the side away from the roll), should drag against your scalp. (But don’t hurt yourself!)
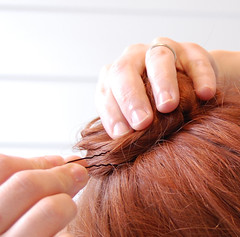
3. Slide the pin the rest of the way into the roll.
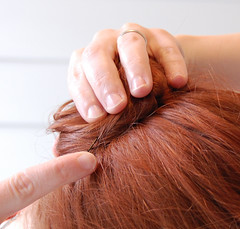
I’ve used hairpins in this example, but you can also use bobby pins. If using a bobby pin, spread the tips slightly before you start. Catch the roll with the longer tip, rotate, and insert.

Modifications:

Short hair. If you have shoulder-length or shorter hair, you can use a dounut shaped hair rat to create the volume you need to make this bun. Just slip the rat over your ponytail, before the "hair fountain" step.

Side bun. For the Big Messy Side Bun, start with a pony tail 3 – 4 inches behind one ear. You’ll need to leave space between the ear and the ponytail to accommodate the bun’s width…unless you’re going for a Princess Leia look. To make the “hair fountain,” you’ll be tipping your head to the opposite side, rather than nose to the ground.